
Overview
This documentation outlines the process of authorizing API access using an access token. The API requires a valid access token for certain endpoints to ensure secure communication and restrict unauthorized access.
Enabling and Configuring API Access
To manage API settings, follow these steps:
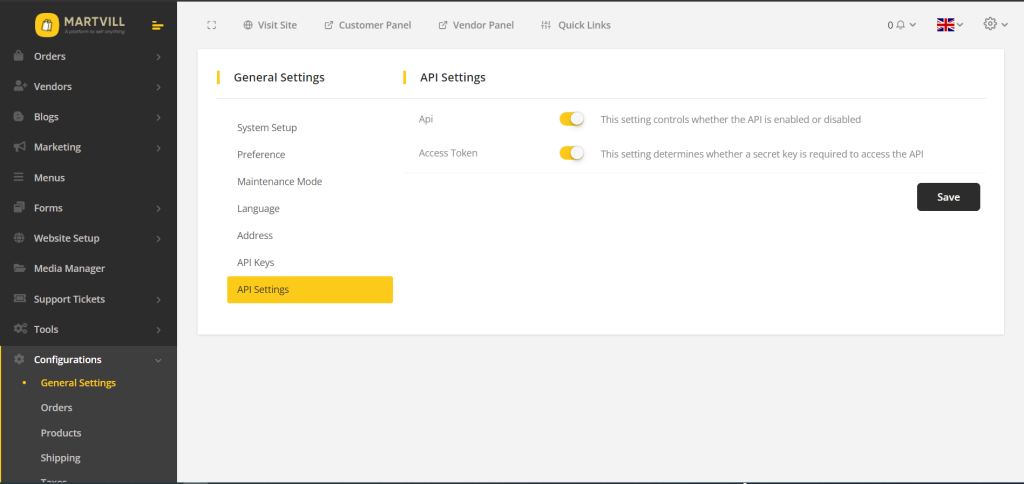
- Navigate to API Settings:
- Go to Admin Panel -> Configuration -> General Settings -> API Settings.
- Settings Overview:
- API: This setting controls whether the API is enabled or disabled.
- Access Token: This setting determines whether a secret key is required to access the API.
Generating an Access Token
To create an access token, follow these steps:
- Navigate to API Keys:
- Go to Admin Panel -> Configuration -> General Settings -> API Keys.
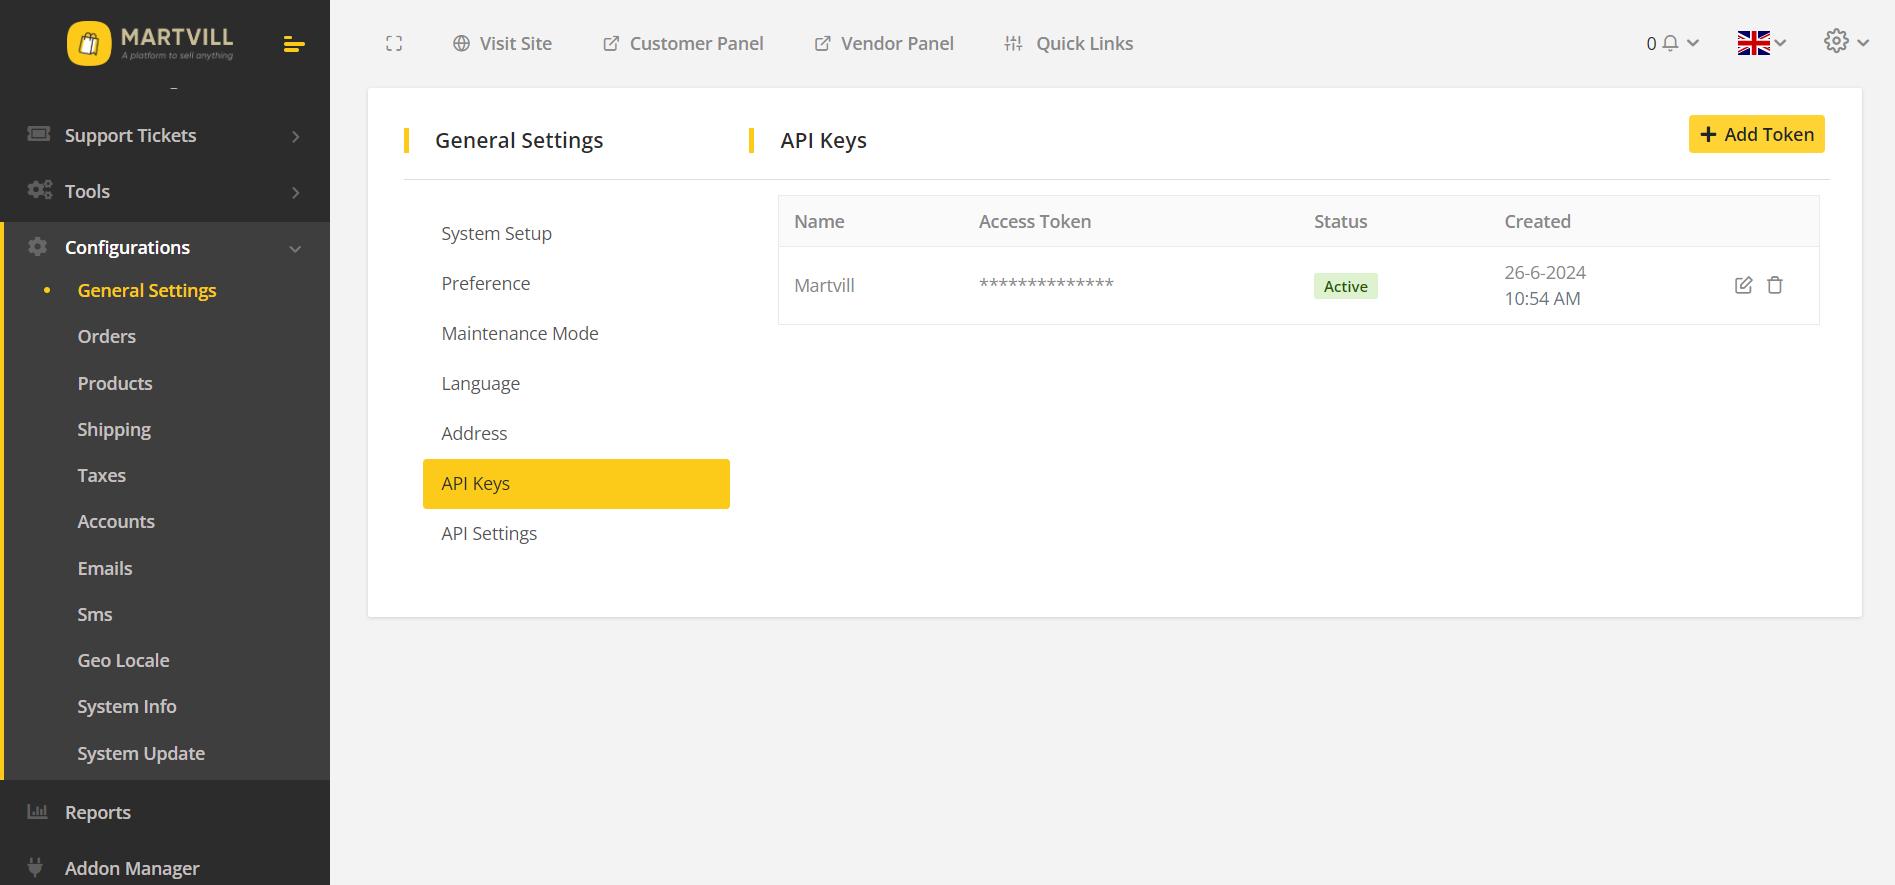
- Add a New Token:
- Click on the Add Token button. A popup window will appear.

- Input Details:
- App Name: Enter the name of your application.
- Status: Set the status to “Active” if you want the access token to be functional. If set to “Inactive,” the access token will not work.
- Create the Token:
- Click the Create button to generate the access token.
- A notification will appear at the top with your new personal access token (e.g., 1rePHskpWL6hfyUjWEemez305z4WaBOELmheZVqa).
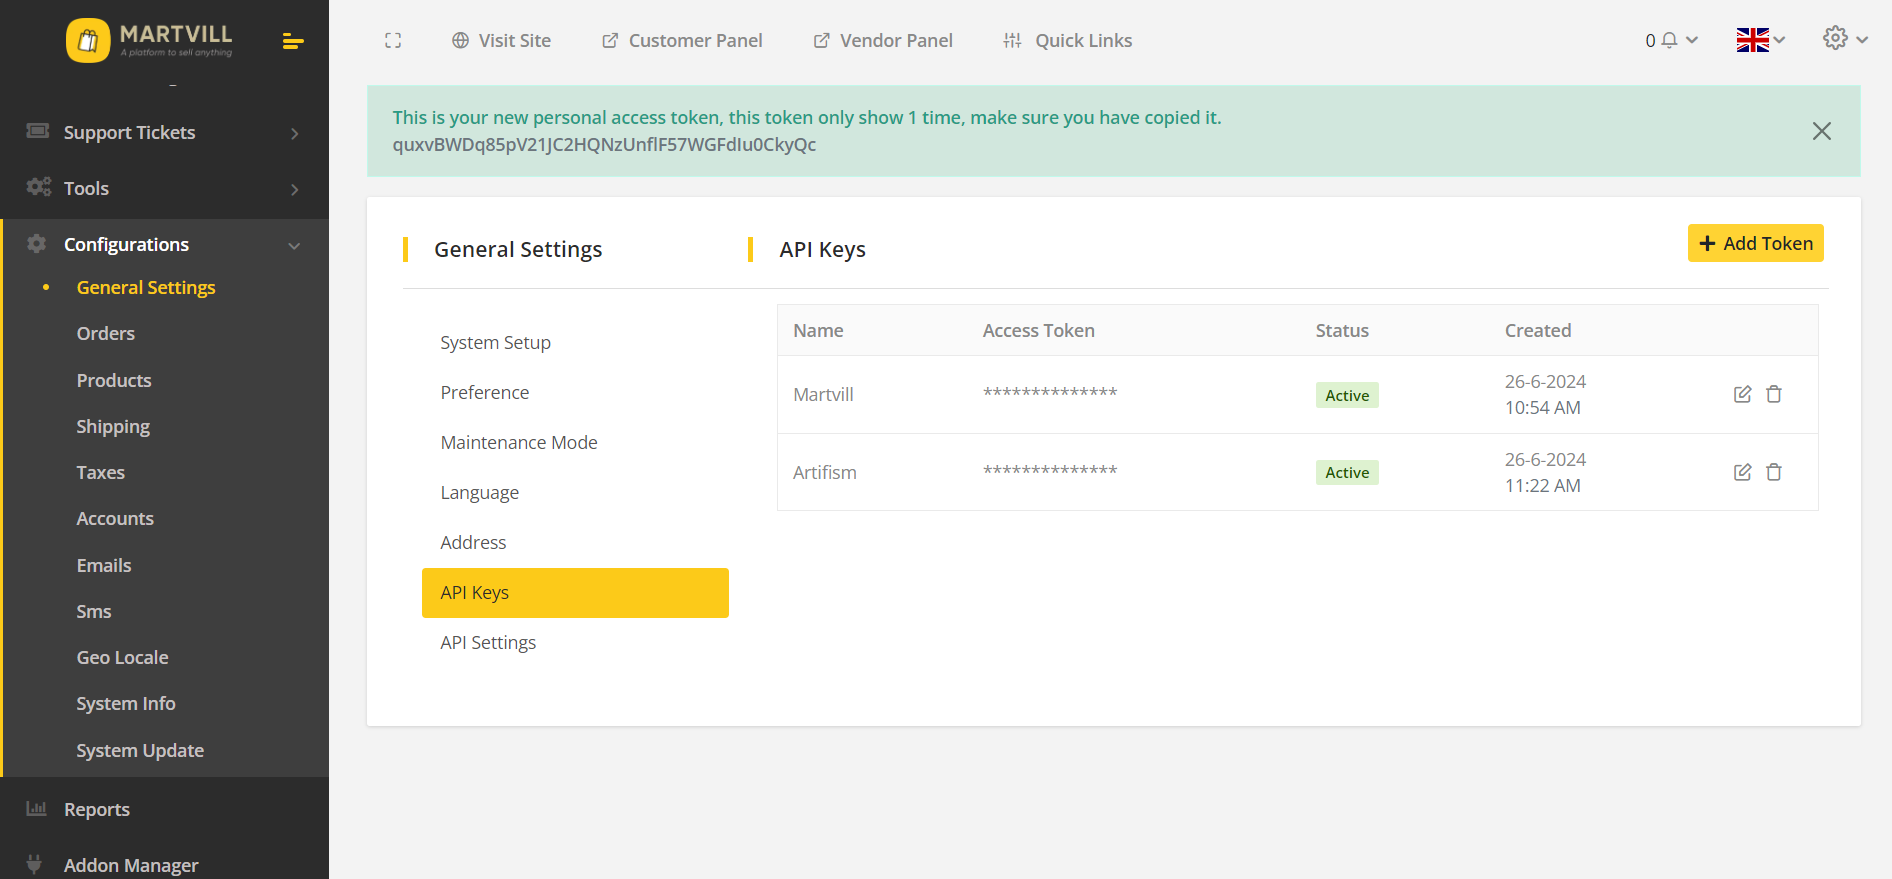
- Important: This token will only be displayed once. Make sure you copy it before refreshing the page, as you will not be able to view it again.
Managing Access Tokens
You can edit or delete access tokens as needed:
- Edit Token: You can update the app name and status of your access tokens.
- Delete Token: If you believe your access token is compromised, you can delete it.
Using the Access Token
When accessing the API, you need to provide the access token in the request header based on settings.
Header Example:
API-KEY: 1rePHskpWL6hfyUjWEemez305z4WaBOELmheZVqa