
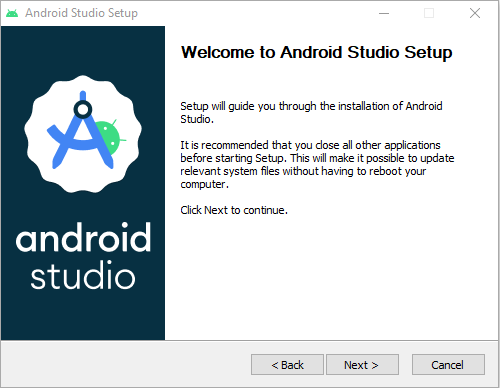
Here are step-by-step instructions to set up Android Studio for running React Native app:
SETP-1: Download Android Studio:
Go to the official Android Studio website at (https://developer.android.com/studio) and download the latest version for your operating system (Windows, macOS, or Linux).
STEP-2: Install Android Studio:
Once the download is complete, run the installer and follow the on-screen instructions. Make sure to choose the “Standard” installation type, which includes the Android SDK, Android Virtual Device (AVD) Manager, and other necessary components.
STEP-3: Click “Next”
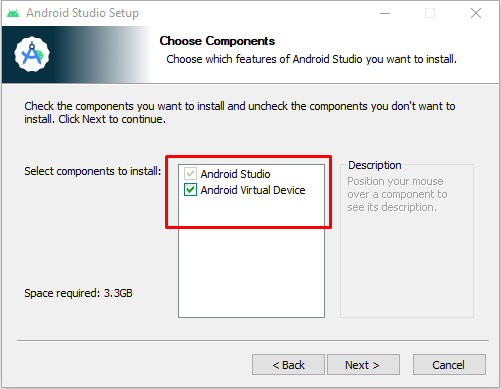
STEP-4: Make sure the boxes following items are checked and click “Next”.
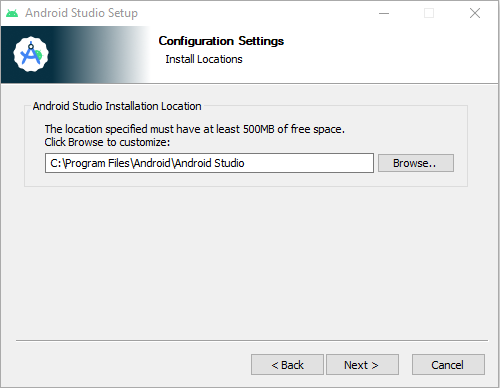
STEP-5: Click “Next”
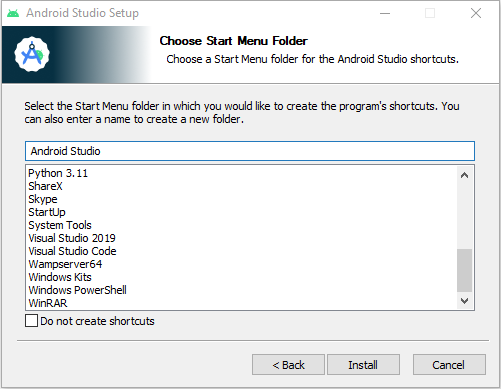
STEP-6: Click “Next”
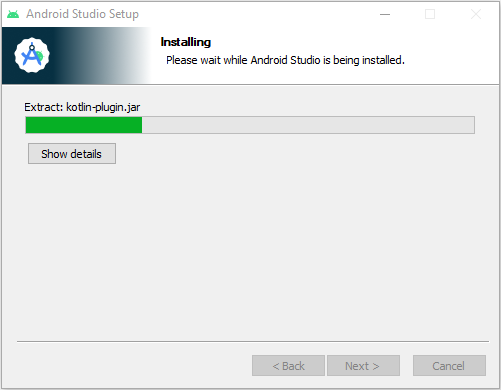
STEP-7: Wait until the installation isn’t complete, After complete click “Next”
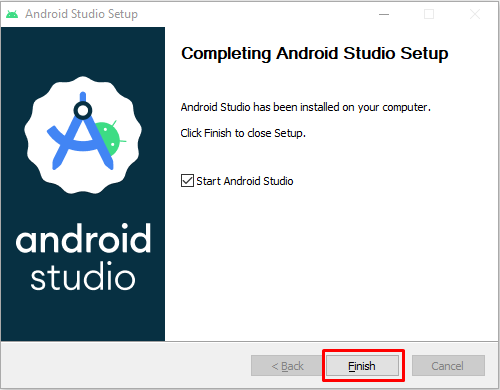
STEP-8: After completing the installation you finished the process by clicking “Finish”
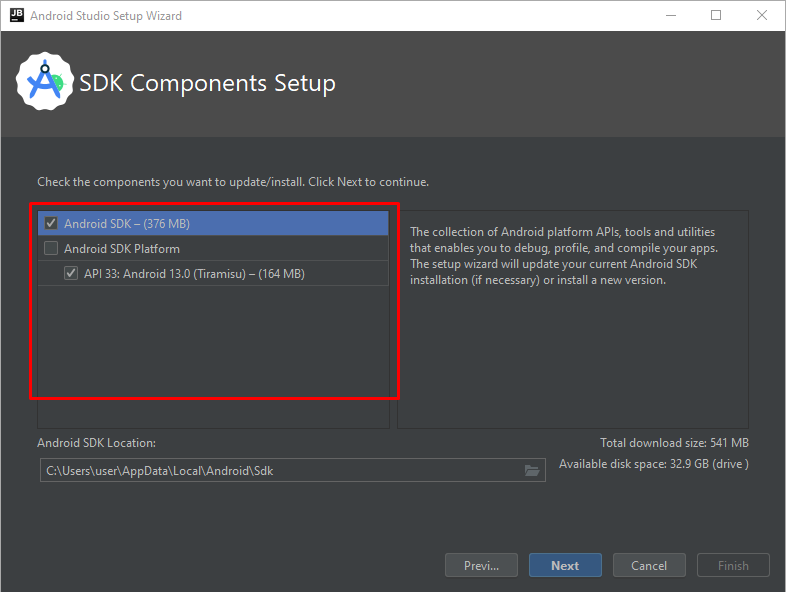
STEP-9: After finishing the installation you will see the next popup on your screen. Before continuing you must download Android SDK. Make sure the boxes following items are checked and click “Next”.
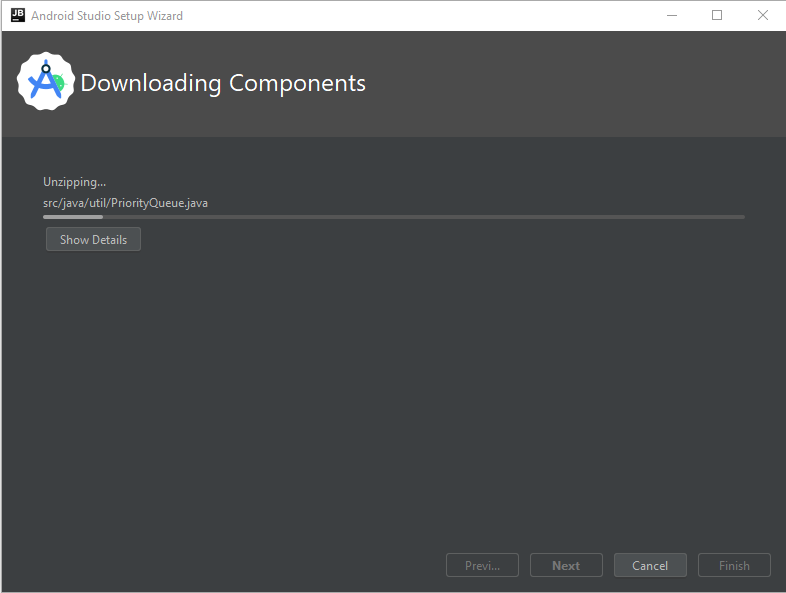
STEP-10: Wait until finished the download
STEP-11: After the download is complete click on “Finish”

STEP-12: Android Studio installs the latest Android SDK by default. Building a React Native app with native code, however, requires the Android 13 (Tiramisu) or the latest SDK in particular. Additional Android SDKs can be installed through the SDK Manager in Android Studio.
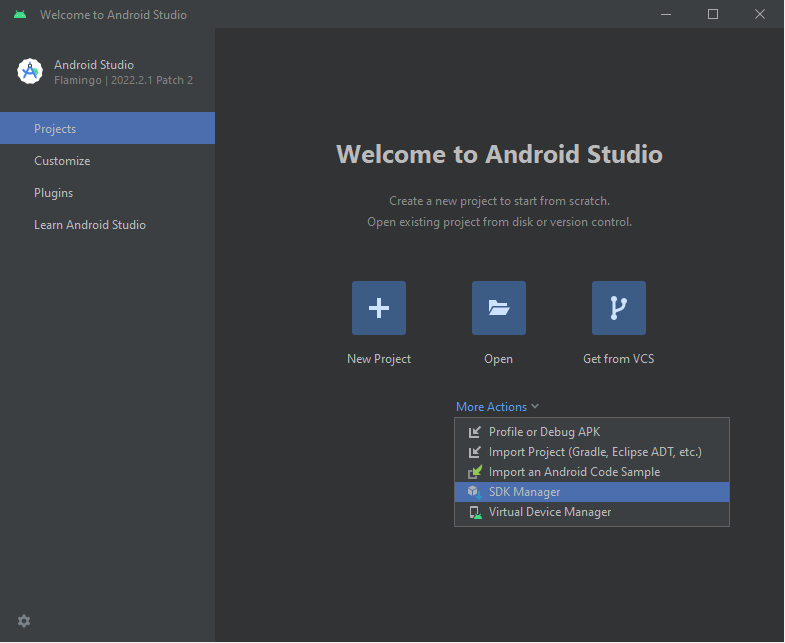
STEP-13: To do that, open Android Studio, click on “More Actions” button, and select “SDK Manager”.
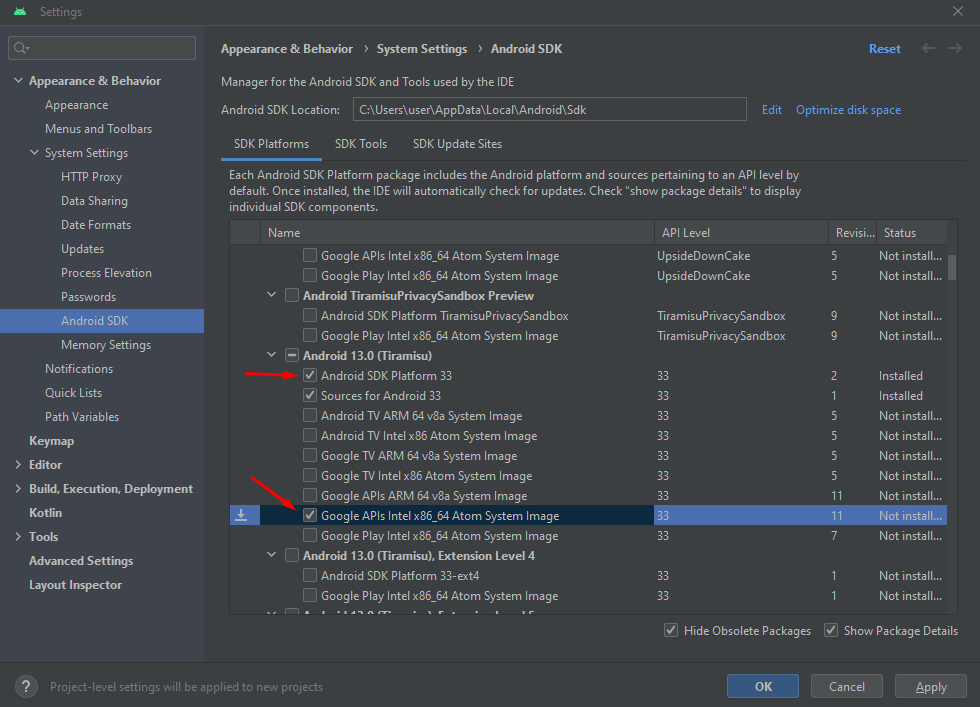
STEP-14: Select the “SDK Platforms” tab from within the SDK Manager, then check the box next to “Show Package Details” in the bottom right corner. Look for and expand the Android 13 (Tiramisu) entry, then make sure the following items are checked:
- Android SDK Platform 33
- Intel x86 Atom_64 System Image or Google APIs Intel x86 Atom System Image
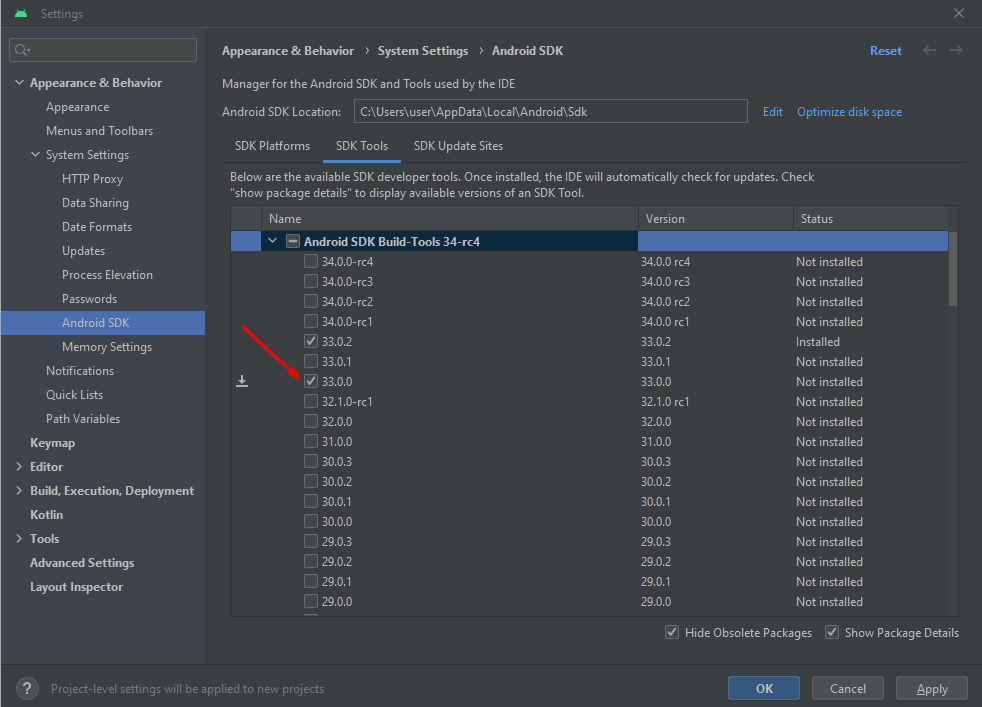
STEP-15: Next, select the “SDK Tools” tab and check the box next to “Show Package Details” here as well. Look for and expand the Android SDK Build-Tools entry, then make sure that 33.0.0 is selected or selected as recommended.
STEP-16: Finally, click “Apply” to download and install the Android SDK and related build tools. Remember that click “Accept” to give License Agreement.
STEP-17: Configure the ANDROID_HOME environment variable:
The React Native tools require some environment variables to be set up in order to build apps with native code.
- Open the Windows Control Panel.
- Click on User Accounts, then click User Accounts again
- Click on Change my environment variables
- Click on New… to create a new ANDROID_HOME user variable that points to the path to your Android SDK:
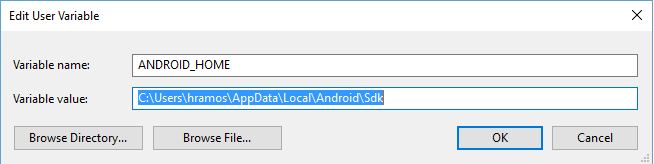
The SDK is installed, by default, at the following location:
%LOCALAPPDATA%\Android\Sdk

You can find the actual location of the SDK in the Android Studio “Settings” dialog, under Appearance & Behavior → System Settings → Android SDK.
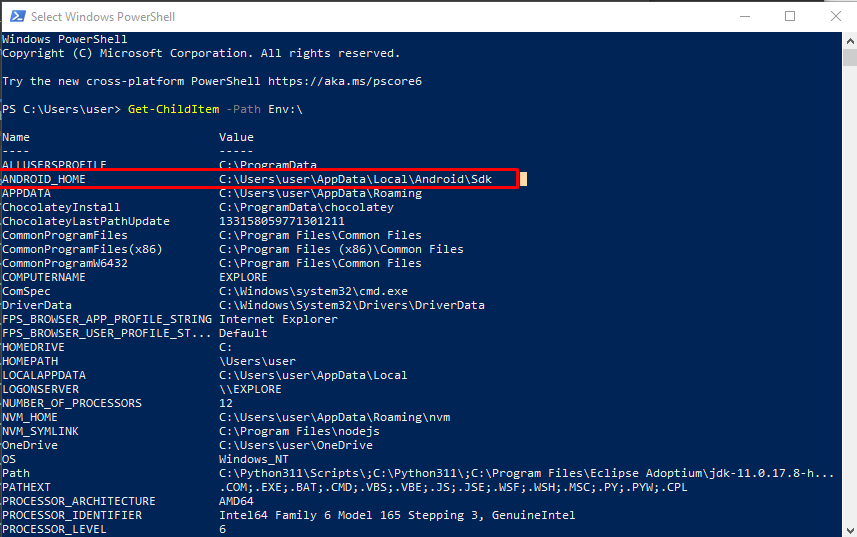
Open a new Command Prompt window to ensure the new environment variable is loaded before proceeding to the next step.
- Open PowerShell
- Copy and paste Get-ChildItem -Path Env:\ into PowerShell
- Verify ANDROID_HOME has been added
STEP-18: Add platform-tools to Path:
- Open the Windows Control Panel.
- Click on User Accounts, then click User Accounts again
- Click on Change my environment variables
- Select the Path variable.
- Click Edit.
- Click New and add the path to platform-tools to the list.
The default location for this folder is:
%LOCALAPPDATA%\Android\Sdk\platform-tools

STEP-19. Then again To do that, open Android Studio, click on “More Actions” button, and select “Virtual Device Manager”.
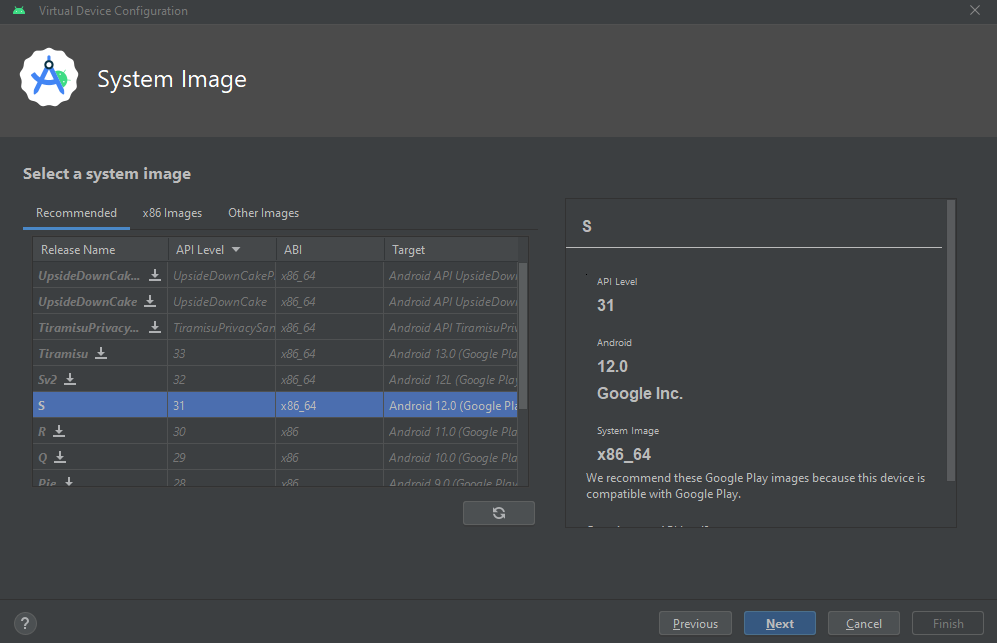
STEP-20: Select a system image and install it then click “Next”
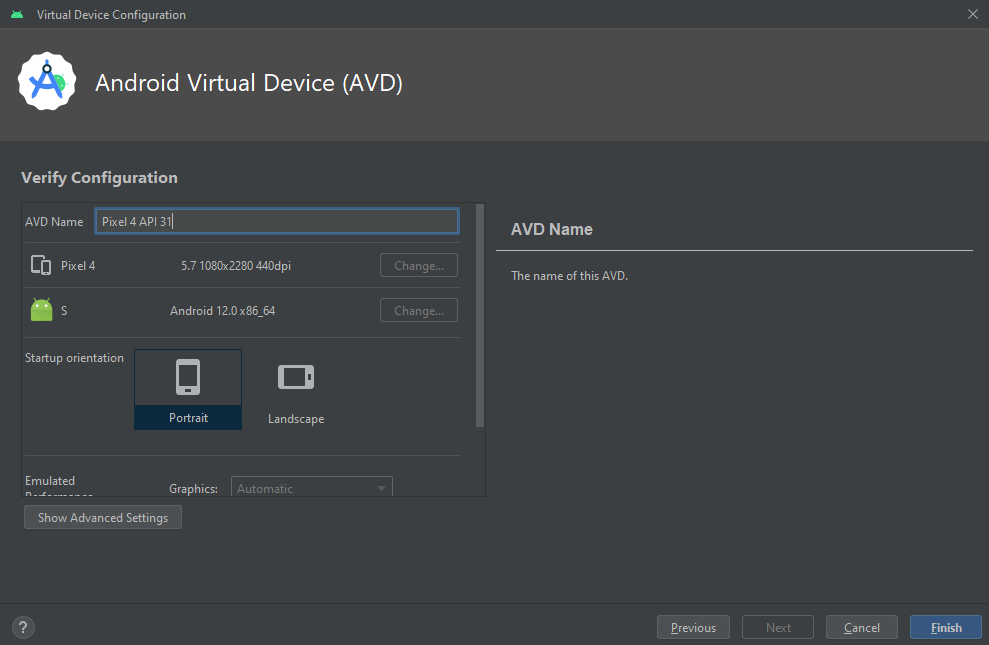
STEP-21: After clicking Next, You will complete the process by clicking “Finish”
STEP-22: Start the Android emulator:
Click on the “Play” button to start the emulator. Wait for the emulator to launch.

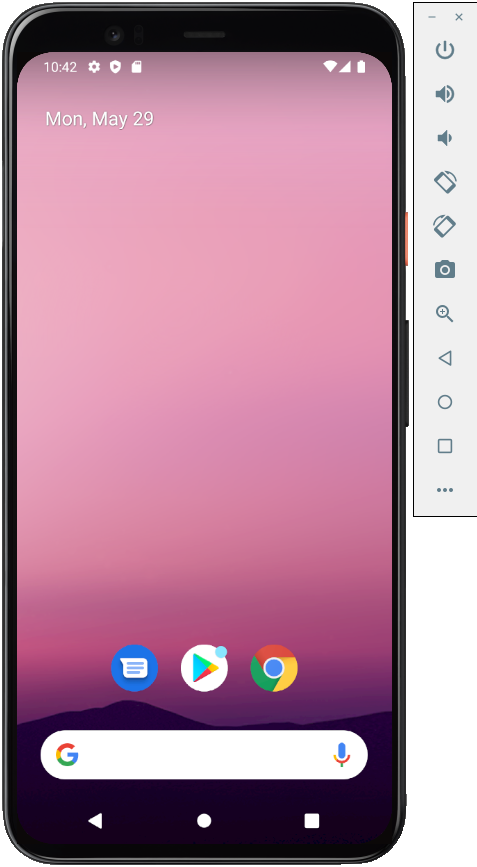
STEP-23: Finally, you will see the Android emulator device
Congratulations! You have successfully set up Android Studio for React Native development and launched your app on the Android emulator